Description
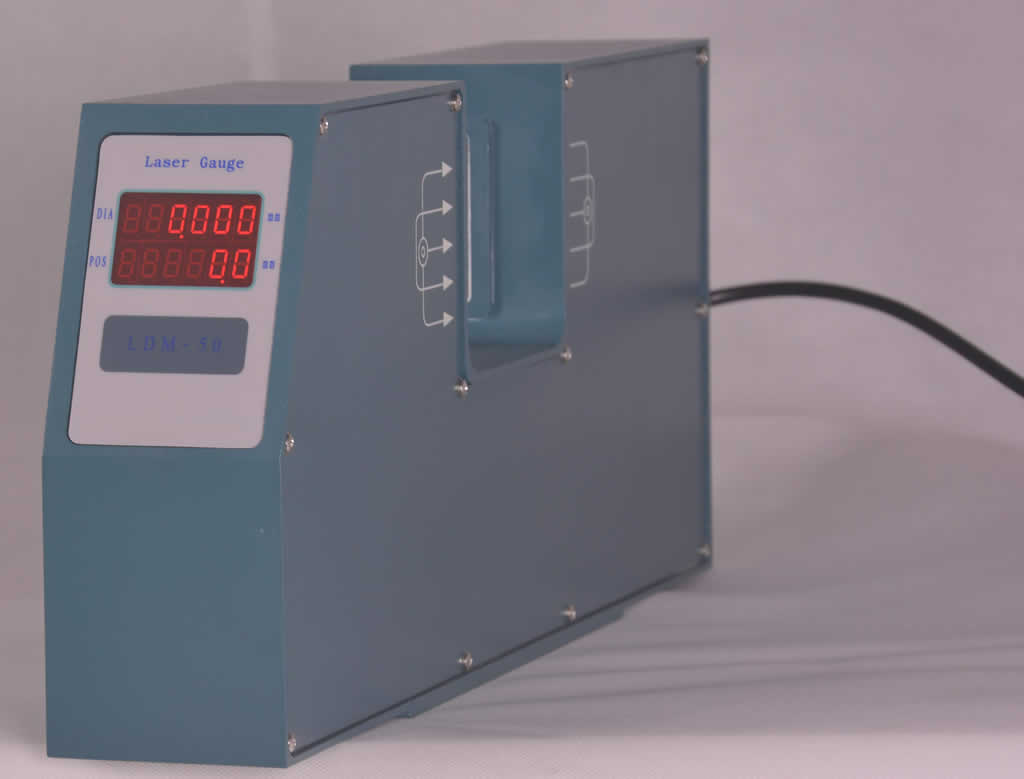
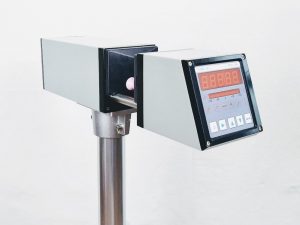
LDM-50 Non-contact laser scanning diameter measurement tool
LDM-50 is a high-accuracy laser scanning diameter measurement instrument, Non-contact measurement system for wire & cable production, accurately, reliably measure insulation diameter to maximize product quality and reduce production scrap.
The LDM-50 measurement tool is designed to effectively measure all-around, wire and cable with solid or stranded conductors, and adjusting the extruder screw or traction speed, to control the outside diameter of the detected object.
The gauge includes features below.
- Easily integrate into your production environment with built-in flexible communications.
- Benefit from compact design for installation flexibility on your production line.
- Intelligent technology that’s engineered for the highest accuracy, performance, and return on value.
- Compact design meets broader installation requirements.
- Non-contact laser diameter measurement, high speed, high accuracy, and good repeatability.
- Real-time outside diameter display, improve quality control and production efficiency, reduce the waste of materials.
- Various digital and analog control signal functions, to achieve fully automated production.
- Various preset functions, nominal value, the upper and lower tolerance, alarm control presets, easy to operate.
- Standard data port connection ready, compatible software for data analysis development convenience.
The gauge applications include:
- Optical Fiber
- Glass Tube
- Plastic Tube
- Transparent Cup
- Bearing
- Shaft
- Spherical Wire
- Outer Diameter Of Workpiece And Size Measurements.
Technical Parameters (Specifications)
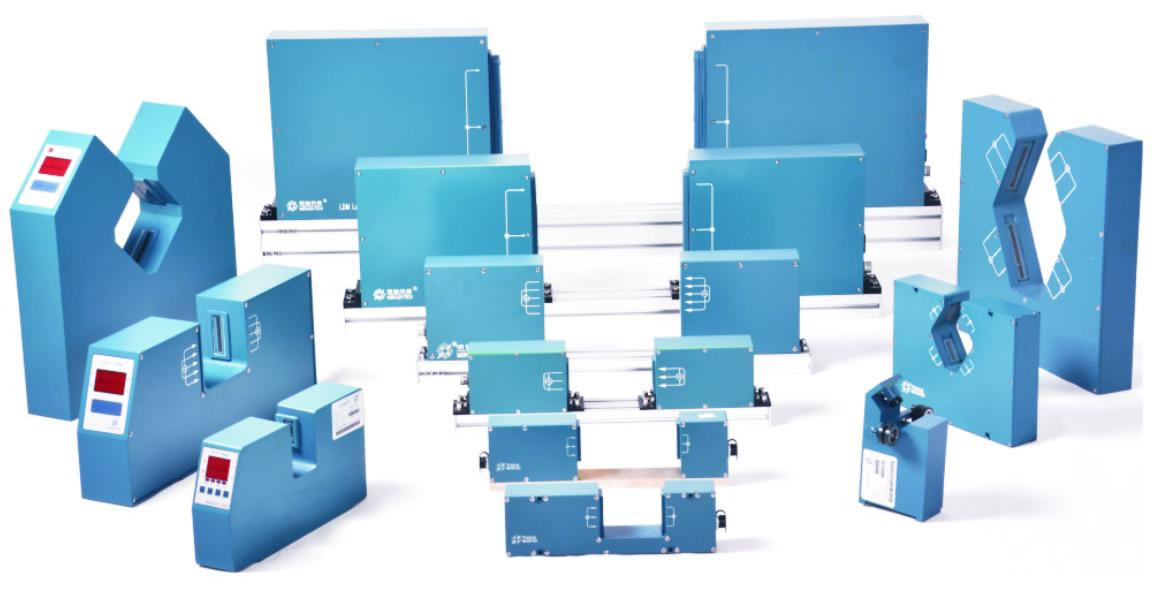
| Model | LDM-25 | LDM-50 | LDM-100B | LDM-150 | LDM-210 | LDM-380 |
| Measuring Range | 0.2-20 mm | 0.2-45 mm | 0.2-95 mm | 0.2-145 mm | 0.2-205 mm | 0.2-375 mm |
| Accuracy | ±0.001 mm | ±0.002 mm | ±0.002 mm | ±0.01 mm | ±0.01 mm | ±0.02 mm |
| Repeatability | 0.5 um | 0.5 um | 0.5 um | 1 um | 1 um | 2 um |
| Resolution | 0.001 mm | 0.001 mm | 0.001 mm | 0.001 mm | 0.001 mm | 0.001 mm |
| Power Supply | 220VAC ±15% 50/60Hz | |||||
| Working Temperature | -10-40 Degree C | |||||
| Humidity | <85% RH | |||||
| Com Port | RS485 Modbus/Profibus ( Option ) | |||||
| Transparent Measurement | Option | |||||
| Analogs Output | 16 Bit 10VDC | |||||
| Relay Output | 2 | |||||
| Dimension | 49x20x9 cm | 49x20x9 cm | 62x25x6 cm | 92x29x10 cm | 121x36x9 cm | 45x50x9 cm (x2) |
Application
One basic LDM-50 measurement tool is composed of laser gauge and remote controller, it is able to be connected with different types of remote display.
The remote controller is mainly used for automatic control, which obtains measured data from the measurement gauge. PID signal comes out through the comparison between measured diameter
with a preset diameter and controls traction speed thereby controls wire diameter. In addition, a remote controller has a full-function operation panel and standard Serial I/O which communicates with PC
and PLC and supports diameter monitor software.
Laser gauge equals to a high-precision diameter sensor which not only measures online in real-time but also boosts strong data communication function.
For some occasion requiring only diameter measure, the laser gauge with the operating panel is competent for diameter measurement, display, and over-deviation alarm.
For some occasion not only requiring diameter measure but also automatic control, the solution includes a remote controller and laser gauge, which communicates with the former via serial I/O.
Measuring principle
A high-precision laser scanning system and embed digital processing electronics are embedded in the measurement gauge. The signal of diameter processed by scanning system, it is converted to digital signal firstly, and then comes out with real diameter and related data through a series of operation.

Leaser scanning data processing
The laser beam irradiates to the rotating prism and after reflection and through lens 1, it becomes a parallel beam. The parallel beam converges to the receiving component through lens 2. When placing EUT on the focal plane (FP) of lens 1, part of lights are shadowed, thus becomes electrical signal on receiving component and then comes out diameter and a serial of related signals after processing by measurement gauge.

Leaser scanning measuring principle

Leaser scanning measuring principle
The communication interface of the measurement gauge contains one serial I/O, it transfers measured data to a peripheral device (e.g. remote controller, PC, and PLC, etc.) through the serial I/O and to remote controls and displays through data channels.

Laser scanning gauge connecting to PC and PLC
Mouthing position
LDM-50 Non-contact laser scanning diameter gauge can be mounted front or behind of the cooling trough.
When it is mounted in front of the cooling trough, an optimized controlling effect may be obtained through in-time feedback due to the proximity of the measuring head to the extruder. But in this case, the plastic coating is not cured, so the set nominal value must be accordingly.

Front-Of-The-Cooling-Troug-Installation
When it is mounted behind of cooling trough, the measured value is the real diameter of the wire or cable. But the controlling effect is not so good because of the large control lag. Be sure to blow dry the tested wire or cable, otherwise, the measuring precision will be affected by the water coating around the wire or cable.

Behind-Of-The-Cooling-Trough-Installation
In practical using, the nominal value shall be increased appropriately according to the water content of the test object.

